menuclose

Category Archives: FAQ’s

Why I come to a wedding early

When I meet with my wedding clients, I always tell them I will come at least an hour early to their wedding day and not charge them for it. Why would I do this? Isn’t my time worth anything? Yes, it is and I have found over the years of shooting there’s a good reason to come early.

When I get to the wedding venue early, I typically check out the lighting for the day.  Is it sunny? Cloudy? Rainy? Is there an overhang, is there a place that is cool? Is there a mud? Is there a place for the bride to stand without squinting? Is there a space large enough for the wedding party? All these questions need to be answered  and sometimes they can’t be until the day of the wedding.

I also come early to set up any gear and take a look at the ceremony spot before all the guests arrive.  This allows me to see the front  and back of the space I’m in.

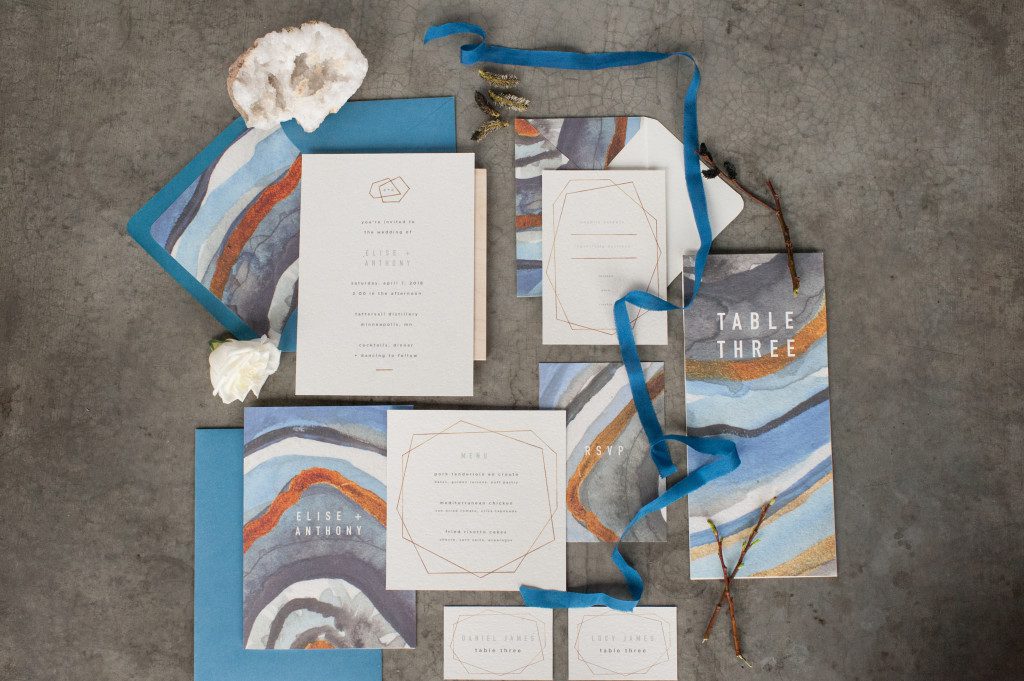
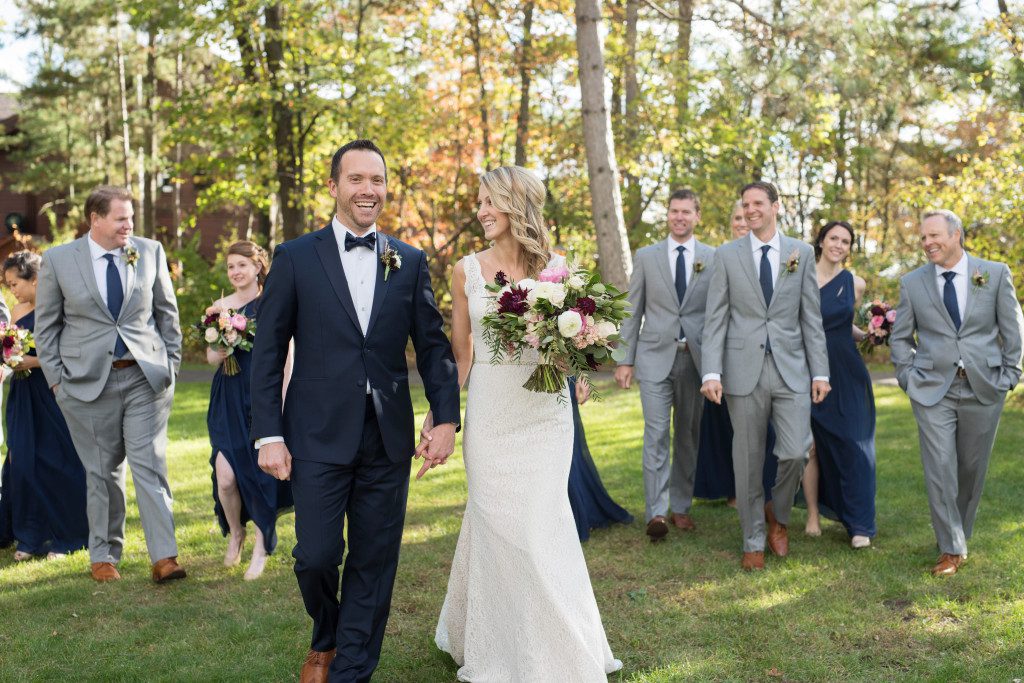
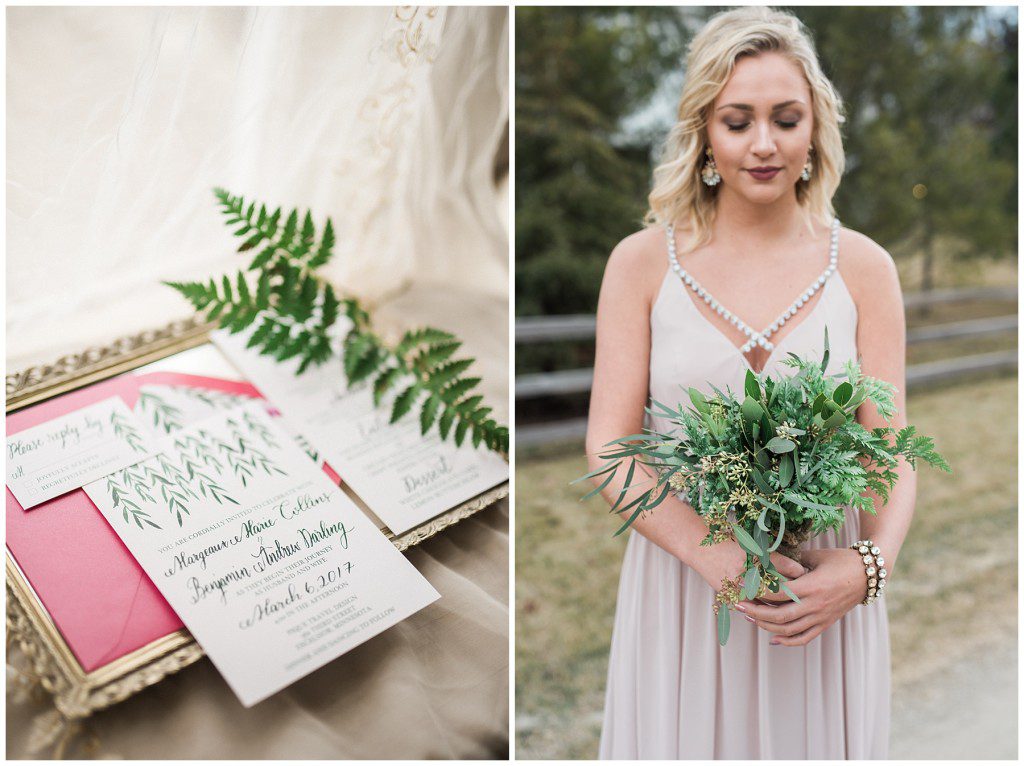
Coming early also helps me to connect with other vendors so that I can put a name to a face,  as well as shoot details of the dress, shoes, stationary and other details without feeling rushed.  I can also meet members of the wedding party and the parents.

Because I want the photography timeline that the couple and I have worked out to stay in tact, coming early allows me to let other vendors know who are on site, (for example the make up artist for hair stylist) know that the next portion of the day is about to start.

Just a few tips as to why to come early for the day!

Comment

Your email is never published or shared. Required fields are marked *

    FAQ’S:: How to create a wedding day time line

    One of the very first questions I receive in a wedding consultation is

    How much time do I need for photos on my wedding day?

    Knowing how long and when photos are to take place sets up most of the other vendors for the day and knowing how to put this together can help tremendously and alleviate lots of stress when meeting with other vendors and figuring out how your day might look.

    Typically when I get this question, there are a few other questions that I usually have for the couple:
    What time is your wedding at?
    How long is your ceremony?
    Will you be doing a first look, or do you plan on not seeing each other before the ceremony?
    How large is your wedding party?
    What photos are most important to you?
    Do you want to go to an alternate location between the ceremony and reception?

    From here, we can start setting up the time line of the day.  So to give you an example say you have a 4:00 wedding, the ceremony is 30 minutes long, you are planning on seeing each other beforehand for the first look, want an alternate location and have an average wedding party of 10 attendants and the photos of you and your spouse are of utmost importance.

    Knowing all this information, I would advise you on booking a 10 hour day and the time line would look like this:

    1:00- Wedding party to arrive at getting ready location, detail shots, finishing touches shots
    1:30-First look with bride and groom, photos together
    2:00- Wedding Party photos
    2:30- Bride’s family photo (add in grandparents and other extended family)
    3:00- Groom’s family photo (add in grandparents and other extended family)
    3:30- Prep/ hide for ceremony
    4:00- Ceremony Begins
    4:30- Ceremony ends/ greet guests
    5:00- Head to alternate location in transportation
    7:00- Announcement of bride and groom
    7:15 Dinner served/ Cake cutting/ Sunset photos of Bride and Groom/ Toasts
    8:30- Dance begins- Reception candids
    11:00 End of contract

    Hope that helps in your planning!


    Comment

    Your email is never published or shared. Required fields are marked *

      FAQ’s:: Method for Delivering Photos

      Happy Monday to you! Whew, where did the weekend go!?!  We are still in Florida enjoying one amazing vacation, and today I wanted to answer another question I received a few months ago.  Feel free to look back on this post and this post that align with FAQ’s mini series I am doing for a few weeks.

      Q:: What is your method for delivering photos to your clients?

      I love this question, because over the years and with the times, this has changed.  When I shot 100% film, I would deliver prints in a proof book to my clients.  Then when I went digital I would upload the images to an online platform where clients would be able to see their images and then hand over a CD or USB of all the images along with a few prints.  Now I am, and have been using for the past few years, another online platform that I absolutely love.

      It is called PASS.  Check out their link here to learn more.  Basically the gist of Pass is that they are an online platform that allows clients to view their photos. They can also order photos, download photos directly to their desktops, download an app to view photos on their phones, and store photos from this link up to 10 years.  This saves so much time and space on my end and it is so efficient.

      There are defiantly other platforms that are similar.  I just chose PASS because it fits my needs.

      If you have further questions as you go about your week, feel free to contact me!  I am happy to answer them as I can!  Have a great Monday!

      Comment

      Your email is never published or shared. Required fields are marked *

        FAQ’S: Workflow and editing

        Continuing on with some the small series of frequently asked questions I started last week, I am moving on to another question I received about workflow and editing.

        Q: What sorts of editing software do you use and what does your workflow look like?

        This is a question I not only get from other photographers, but a question my clients like to know.  Everyone’s systems are different and can be changing as new software comes out.  My current workflow after a wedding or session takes place generally looks like this: (and of course a list, because if you know me at all, you know I love lists!)

        1. After coming home from a session I upload all the files to an external hard drive.  If it was a wedding I was shooting, I will upload 1-2 photos on Facebook and Instagram the night of the wedding for the couple to have something to view when they get finished with the evening or for guest to see.
        2. Usually the day after the shoot or wedding, I will take the images into PhotoMechanic, and cull through the photos.  I choose some for blog posts, and then others to be edited for the entire gallery.  If you don’t know anything about PhotoMechanic, it is an incredibly fast culling system and well worth the investment!
        3. From there, I take the photos into Lightroom to edit in the Develop Module.  I edit first the photos for the blog, and if its a wedding, export the photos to dropbox, for my wonderful and incredibly talented editor Anne to edit.  If it is a full session, I edit through the rest of the photos for the client’s gallery in Lightroom. (Use this LINK to get a 30 day FREE trial to Lightroom and Photoshop in Adobe’s Creative Cloud)
        4. From there, I typically take photos that need further tweaks and edits into Photoshop for deeper editing (typically for newborn skin, removing items out of photos, dodging and burning shadows, etc.)
        5. After the photos are complete and edited, either from Anne or myself, I will bring the photos to Pass (the gallery viewing system) for clients to view and download their photos.
        6. When the photos are ready to be blogged (weddings are typically 2-3 days after the wedding, and lifestyle sessions can be later), I take the photos into BlogStomp.  This software is so slick and has made blogging for me faster and more efficient. There are so many options of putting photos together and it creates the sizing without having to take the time to resize each individual image.  Literally I can create a blog post in 10 minutes!
        7. For weddings, I also create a slideshow of the couple which is posted to Vimeo and I also attach to their blog post.  To create this, I use Animoto software, which creates a beautiful slideshow.  This software is free, but you can upgrade to the Pro level if you are wanting more options. (Get a free month when you use this LINK)
        8. The last thing I do mainly for wedding clients, but sometime Lifestyle clients, is to create an album for them.  In designing albums, I use Fundy Album Designer.  This drag and drop software again, makes creating an album fast and efficient.  I process most of my images and albums through White House Custom Colour, but if you have another lab that you work with, I am positive that they have your album company!

        Phew!  I know. That is a lot of information thrown at you!  It can be overwhelming if you are just starting your business, but gradually if you add systems and software it will help you immensely be more efficient with your time so you can get back to other things!  Also, if you haven’t noticed, check out all the items in RED, as there are promo codes and links to all the systems that I use!  Have a fabulous Monday and feel free to e-mail me with other questions you might want me to answer!

        Comment

        Your email is never published or shared. Required fields are marked *

          Happy Easter!! He has risen indeed!!
          Brands

          Seniors
          weddings

          portraits
          FK

          Minneapolis Wedding and portrait photographer for the Modern & timeless


          Based in the Twin Cities area and available for travel worldwide.

          Get in touch with Karen for any questions.

          Submit

          Form submitted successfully, thank you.Error submitting form, please try again.